How to design the kitchen island that’s right for you
There is something about a kitchen island that appeals to so many people. It provides a focal point, something to gather round, provides worktop space, possibly seating for informal eating and drinking and potentially lots of storage. And maybe (whisper it…) it’s a bit of a status symbol, too.
So what do you need to consider when designing one? Here are our top tips to get it right.
The size of island versus the space available
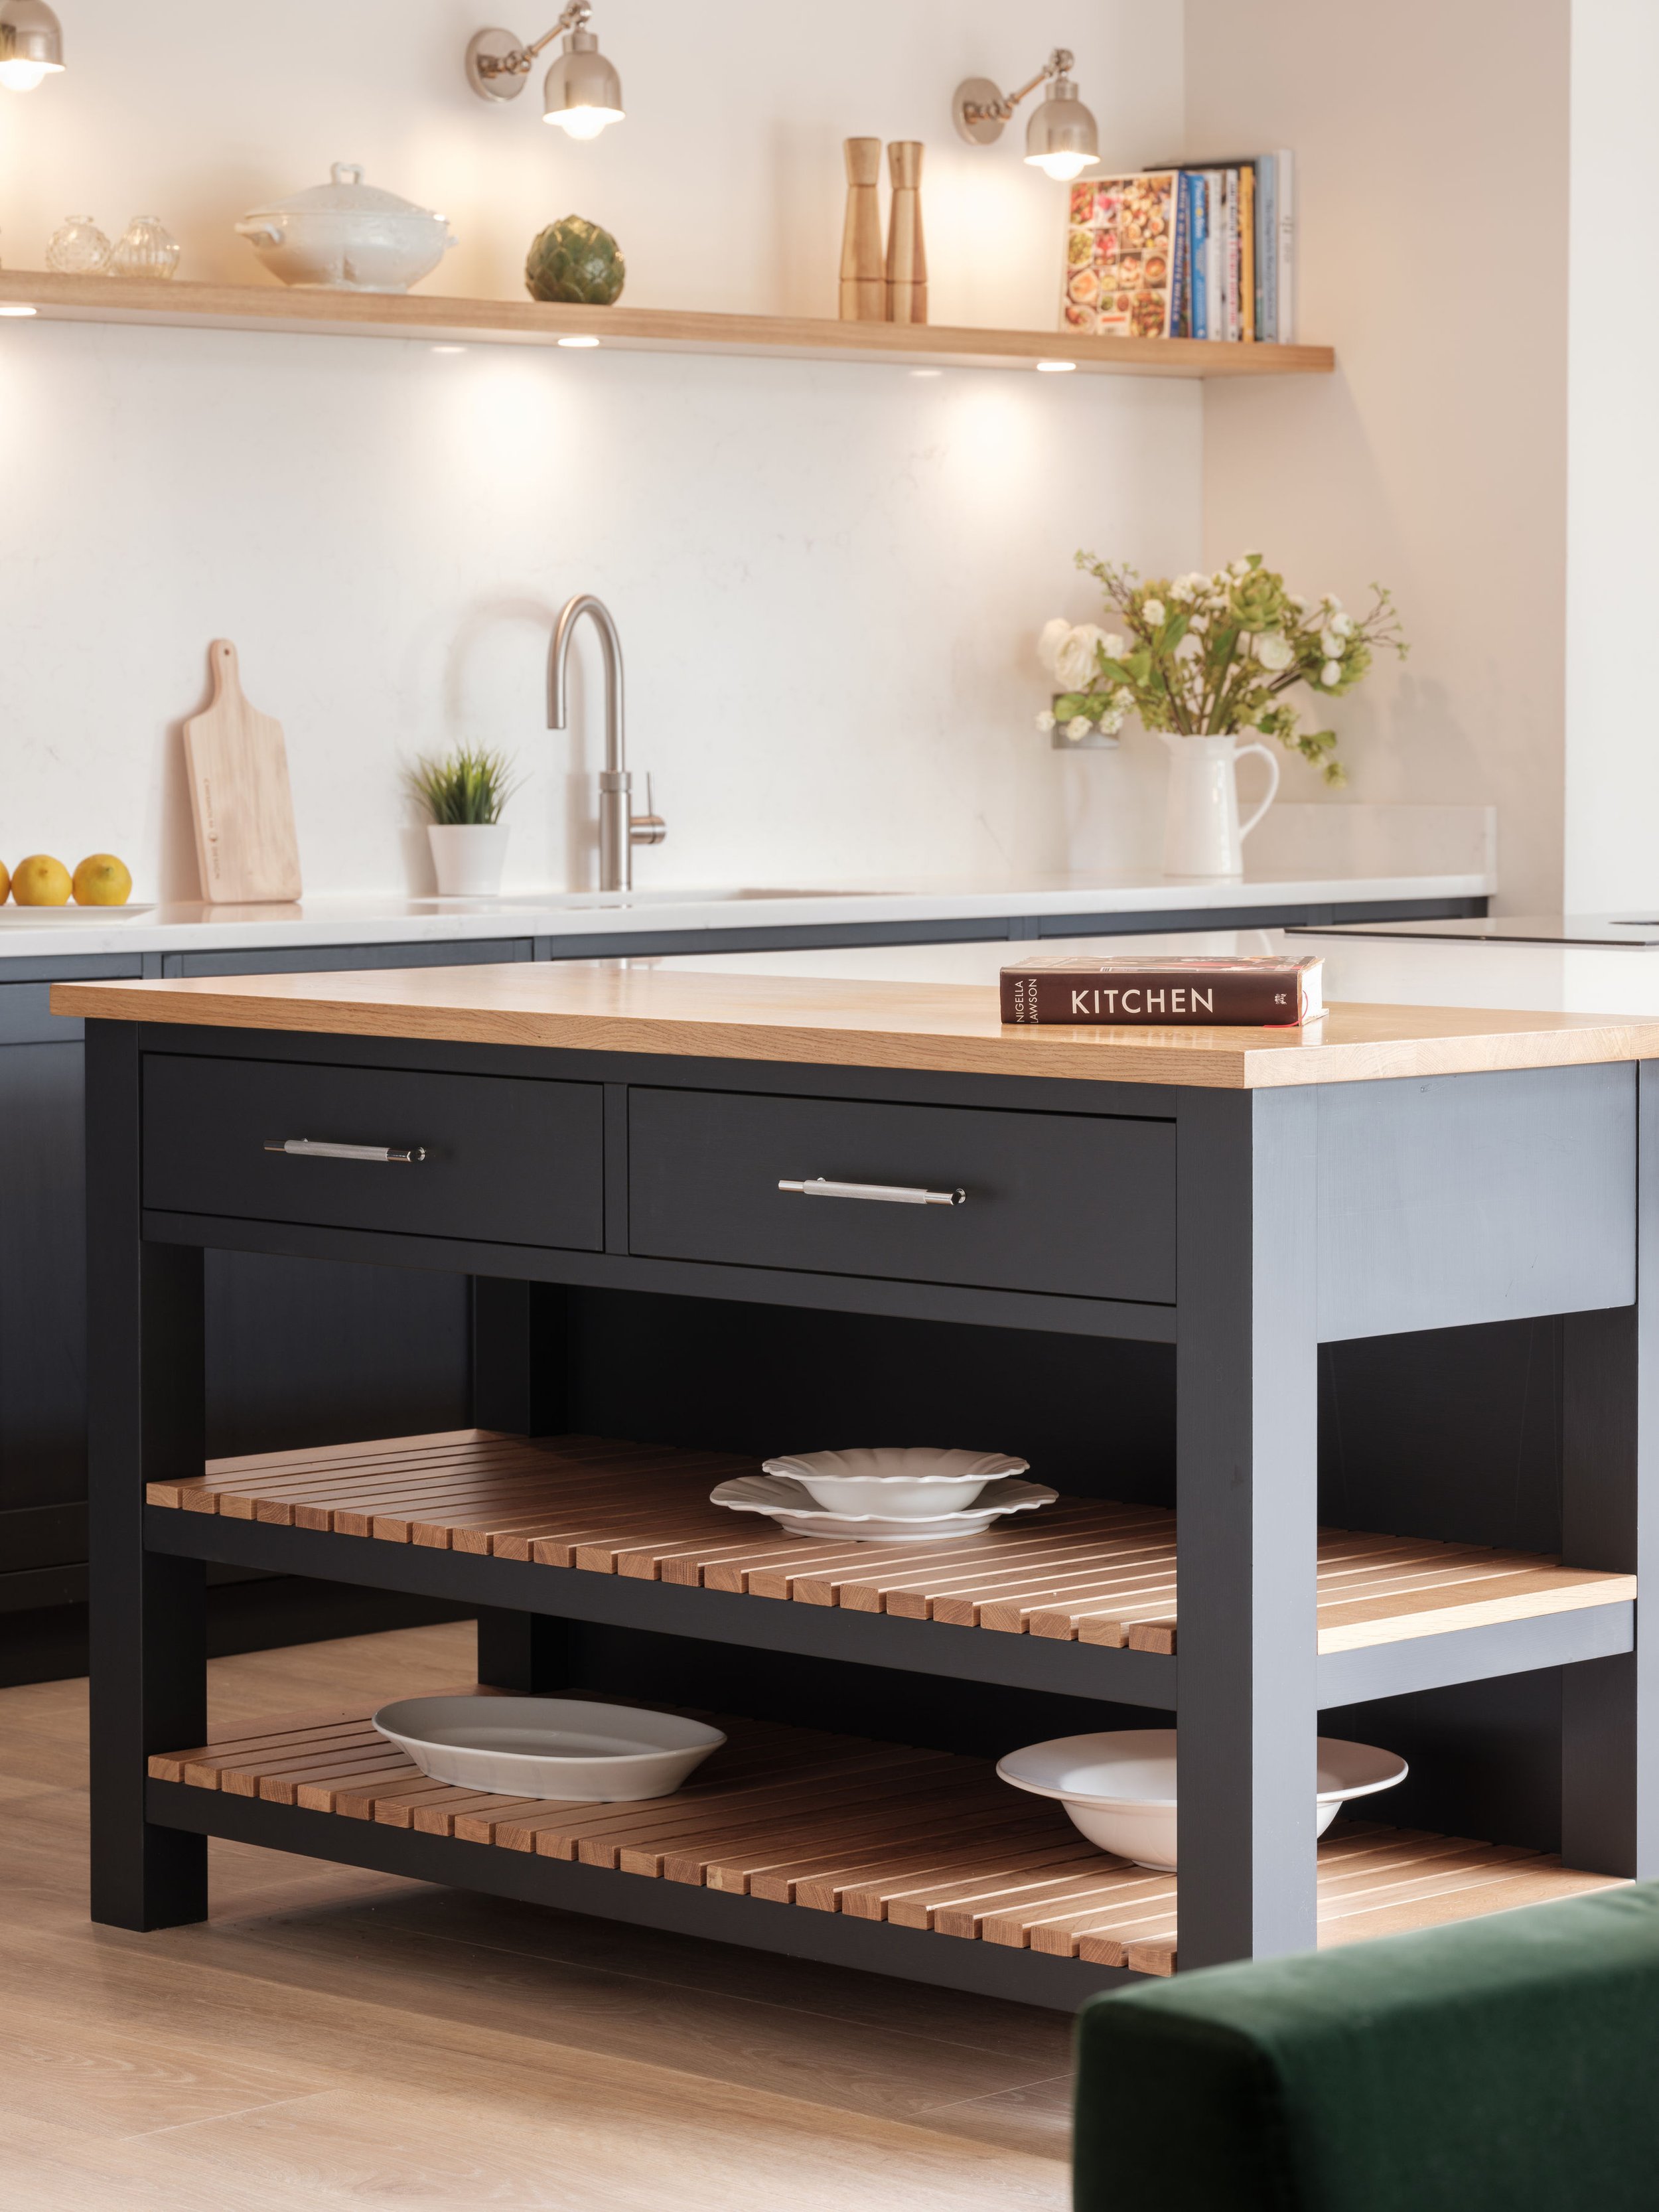
This is probably the most important thing to consider - too small a space and an island may become a hindrance, with insufficient room around it. If it’s a small kitchen but you really want an island-type feature, consider something like this one, which is effectively a large butcher’s block, but which provides the area of informal seating and additional prep space that our clients were after.

Small is also beautiful, when it comes to islands. Photography by Julia Currie Photography
We’d normally aim for 1100mm between an island and any adjacent units, with a minimum of 1000mm and no more than 1200-1300mm. The project featured above saw us break that rule as the clients had been used to a small London kitchen and so were happy to come down to around 800mm. It’s all about having that conversation with your designer and working out what works for you.
Even if you have a lot of space to play with, too large an island may also prove inconvenient, necessitating a long walk around it. In addition, consider what you’re putting on top. For example, the largest slabs of quartz are 3200mm x 1600mm (but take note - these are “jumbo”-sized, not all suppliers offer these and those that do may not offer every range in this format). Whilst you could join two pieces, this isn’t really ideal.
As ever, though, there are ways around this constraint. On this project the client wanted a longer island and so we added an end table with oak worktop.
Extending the island with an end table and oak worktop. Photography by Panayis Chrisovergis.
If you choose other materials then you may not be so constrained and you can also get really creative, like in this example, in which our fitter crafted a teardrop-shaped breakfast bar out of solid oak.

A truly unique breakfast bar, handcrafted in oak.
Hob versus sink versus nothing
This is always an area of debate and one on which people tend to have strong views! This largely comes down to personal preference, although there are a few things to consider.
How tidy are you? Sinks tend to attract clutter through the day, so if you’re not the tidiest of households, then maybe consider putting the sink under a window or on another run of units. But they can be very handy on the island - if it’s big enough then consider adding a prep sink on the island for the best of both worlds.
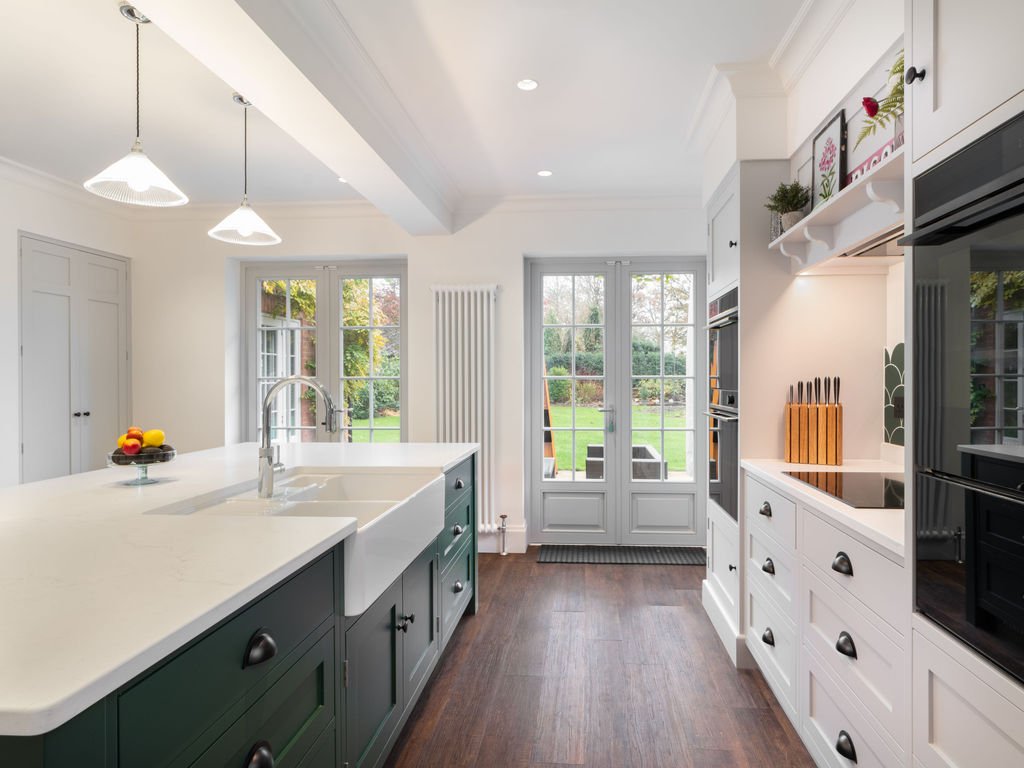
The sink on the island and hob opposite is a convenient layout. Photography by Panayis Chrisovergis.
How do you like to cook? Are you happy to use the hob with your back to people? Or, if you’re a big entertainer, maybe you’d prefer to face your guests as you cook, in which case the island might be the right place for the hob.

A Bora X Pure is the perfect option for an island hob. Photography by Julia Currie Photography
If you put the hob on the island, then you’ll need to consider extraction. In the past, this usually meant a ceiling-mounted extractor such as the one shown earlier (for which there are practical factors to consider, such as the ceiling joists, their spacing and direction in which they run). These days there are lots of combined hob/extractors, meaning there’s no need for a separate extractor. Our favourite brand is Bora, who pioneered this style (we will be producing a separate blog on this, so watch this space).
Alternatively, keep the island clear for a large, very flexible area of worktop.

Keeping the island clear gives you lots of flexible worktop space. Photography by Russell Valentine.
Seating
An island presents a great opportunity to include informal seating, whether with stools, a banquette or chairs. Again, it all comes down to the space available and how you live.

An L-shaped seating layout is a sociable option. Photography by Panayis Chrisovergis.
With stools, you can have these in a line or wrap them around a corner, which might be a little more sociable. It’s worth trying to make the most of a view and ensuring that you have enough space for people to walk past whilst people are seated at the island.
Storage
You can pack in a lot of storage in an island, whether it’s drawers at the front, cupboards at the back, a wine rack or cooler or extra bins and a tray/chopping board unit such as this one:

Photography by Chisholm Design.
Reduced depth cupboards are a great option for extra storage for less-used items, whilst if budget is an issue, a plain panel under a breakfast bar can keep costs down. If budget is less of a constraint, then consider something like this 7-drawer unit for bags of really useable storage space.
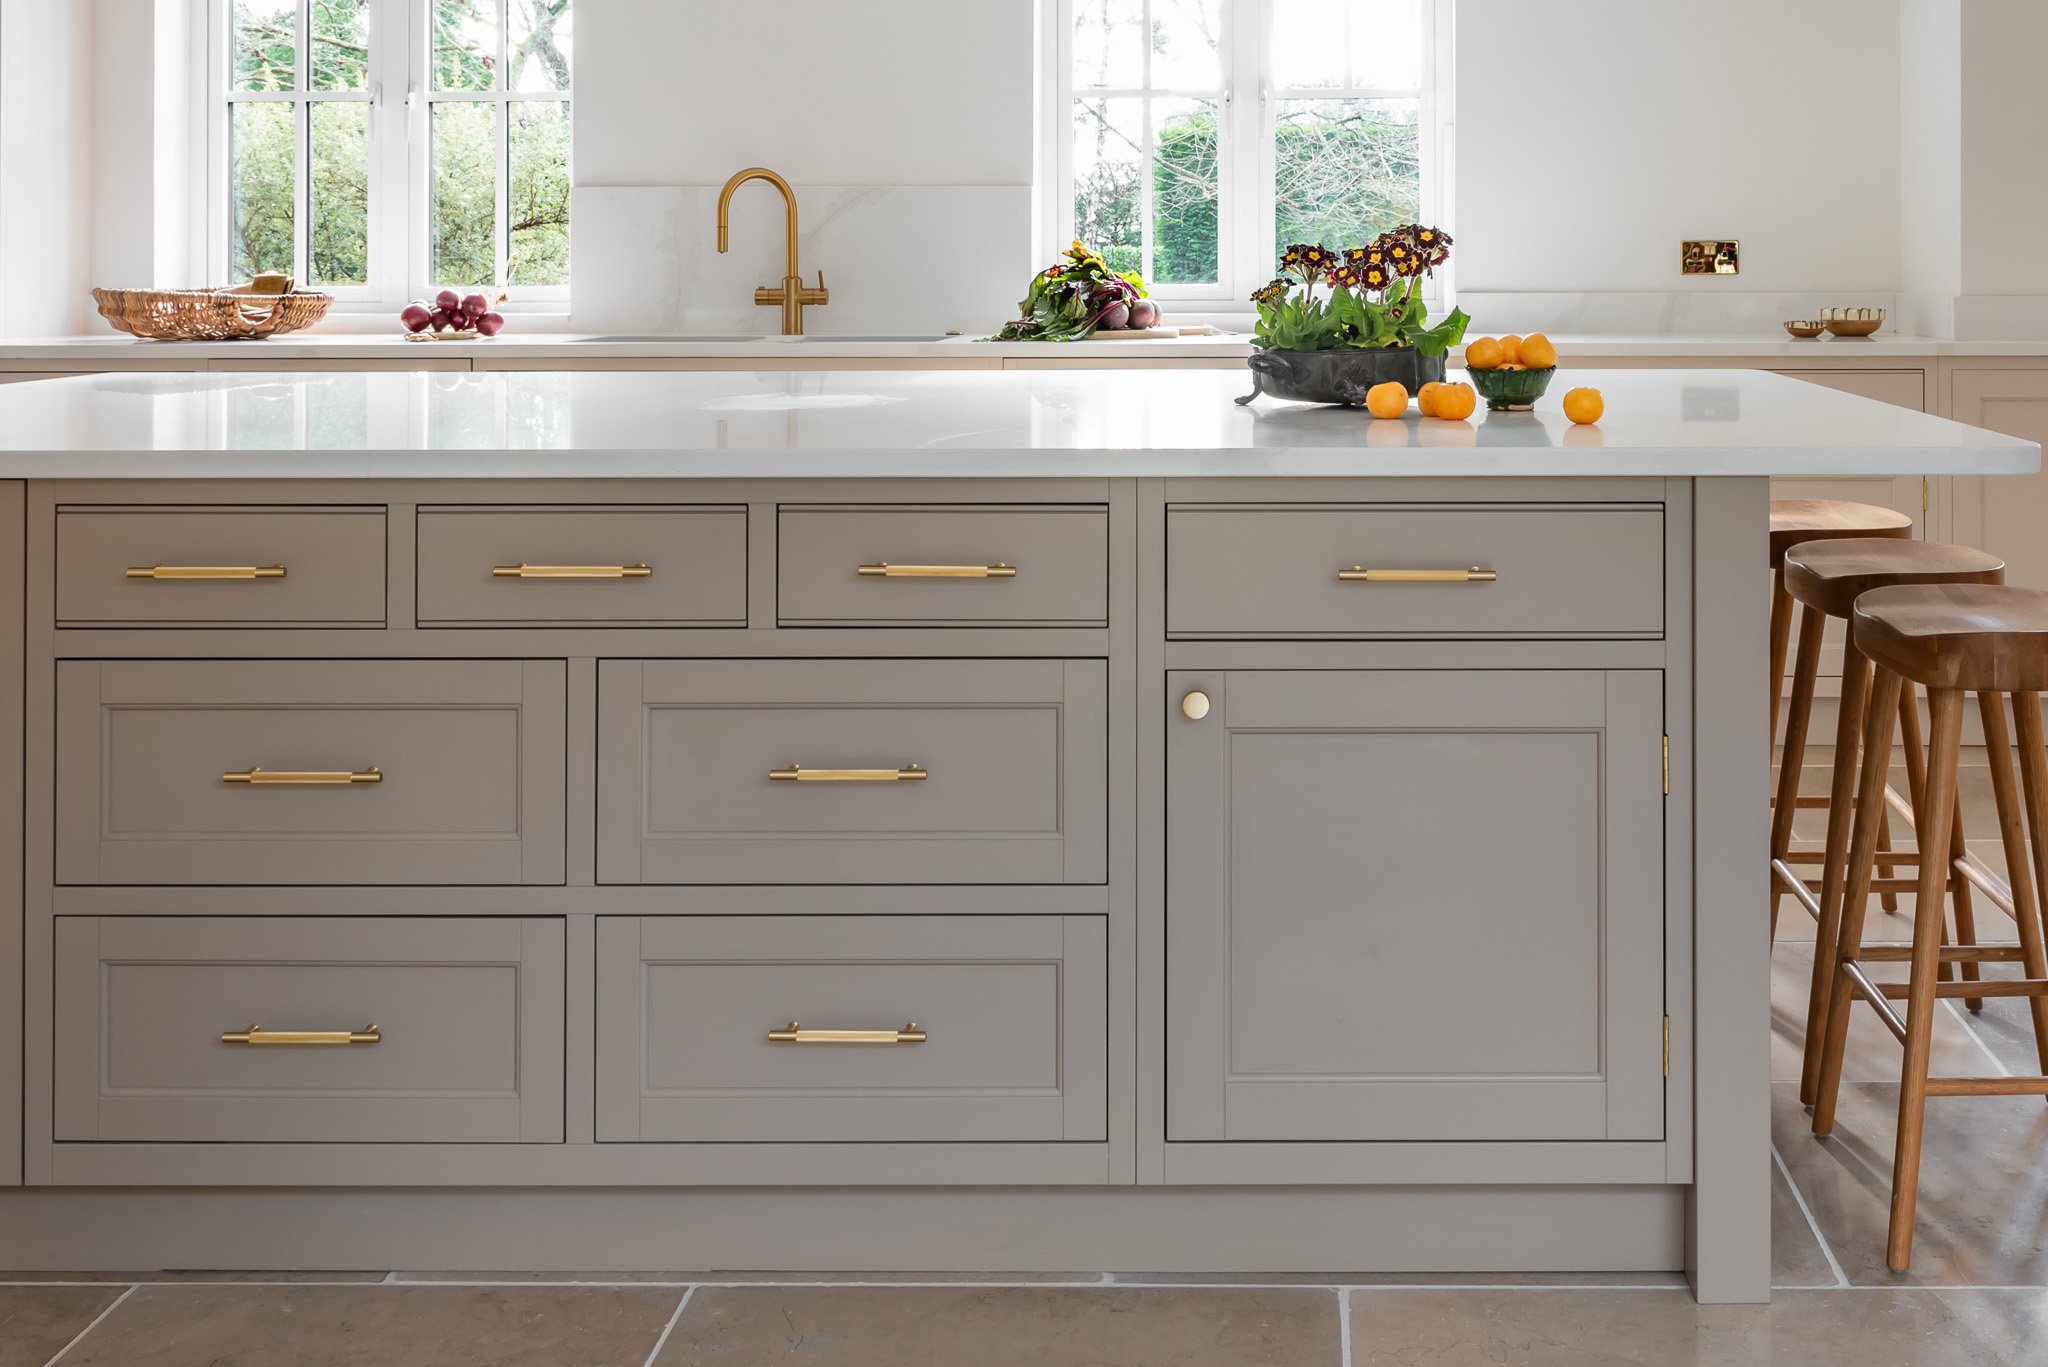
This island features plenty of drawer storage. Photography by Julia Currie Photography
Finally, don’t forget that if you’re going to include an island in your design, you’ll need to make sure that you run the services to it in good time and before any screed is laid. This includes any ducting for an integrated hob, as well as water/waste pipes and electrics.

Ducting in the floor to the island. Photography by Chisholm Design.
If you haven’t locked down the design at this stage, you can always lay these and then cap them off if they are needed - it depends on advanced your kitchen plans are at the time the screed is needed.
So there you have it - a few of our tips to help you get the island that you’re looking for. Of course, there’s a lot that we haven’t had space to cover, so if you have any questions, please feel free to get in touch to discuss your project.

A Bora X Pure opposite an AGA - cooking heaven!